Korean Baked Just Egg and Rice – vegan breakfast

Have you had the pleasure of trying vegan Just Egg? It’s INSANE and tastes so much like actual egg! For those of us that simply do not eat eggs or for those that are just trying to go a little bit more plant based these days, this is an AMAZING vegan egg alternative!
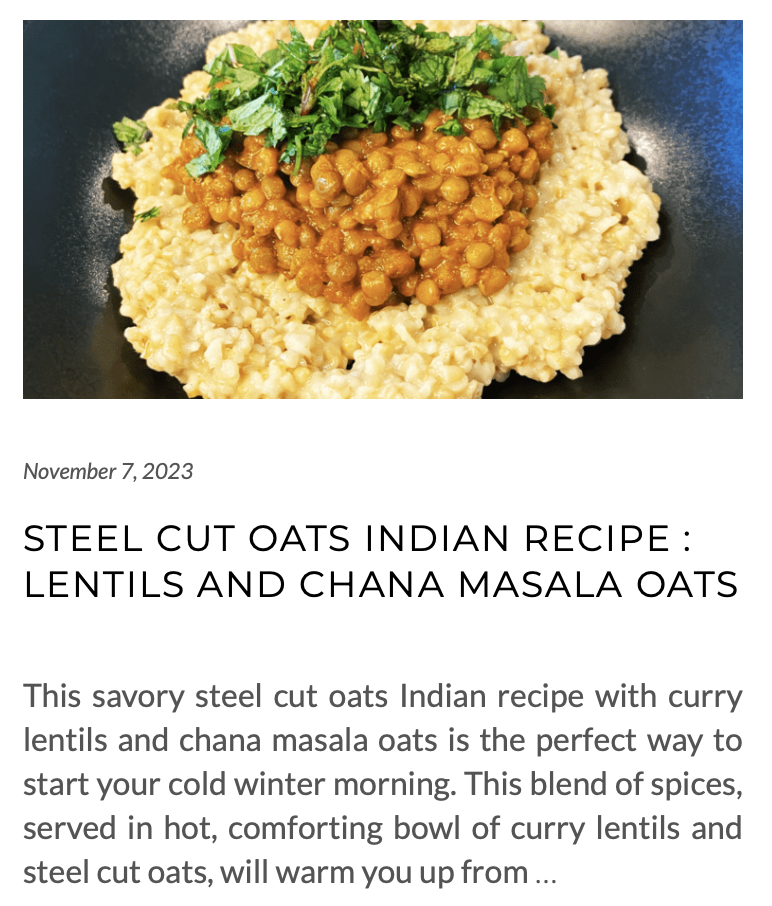
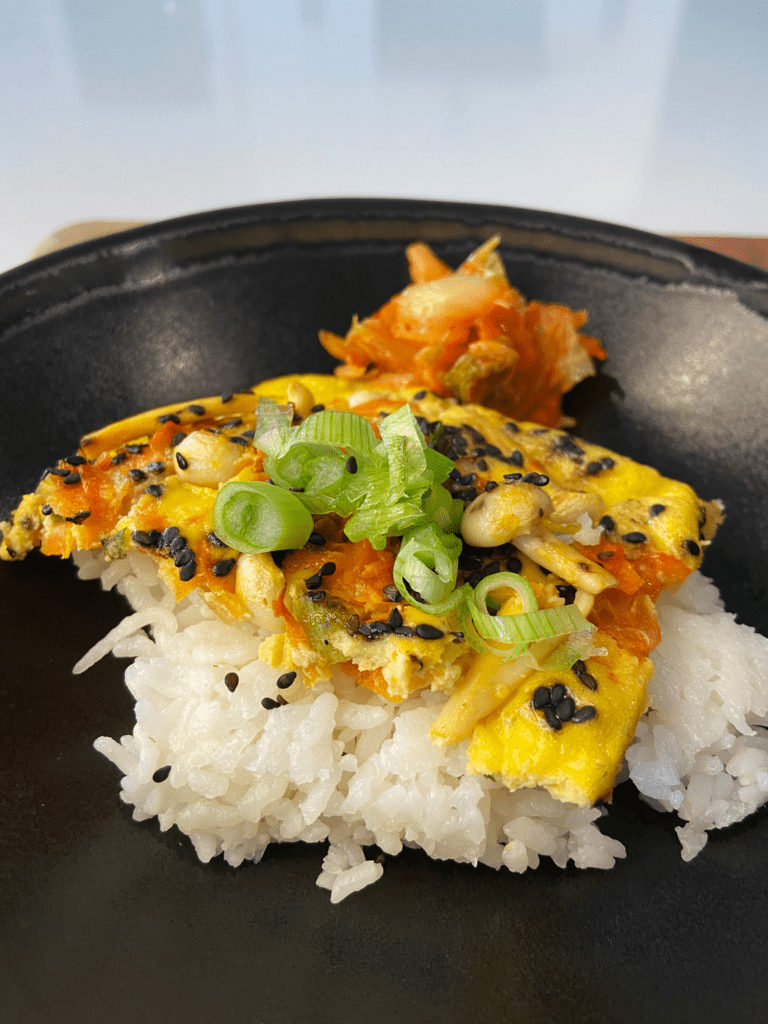
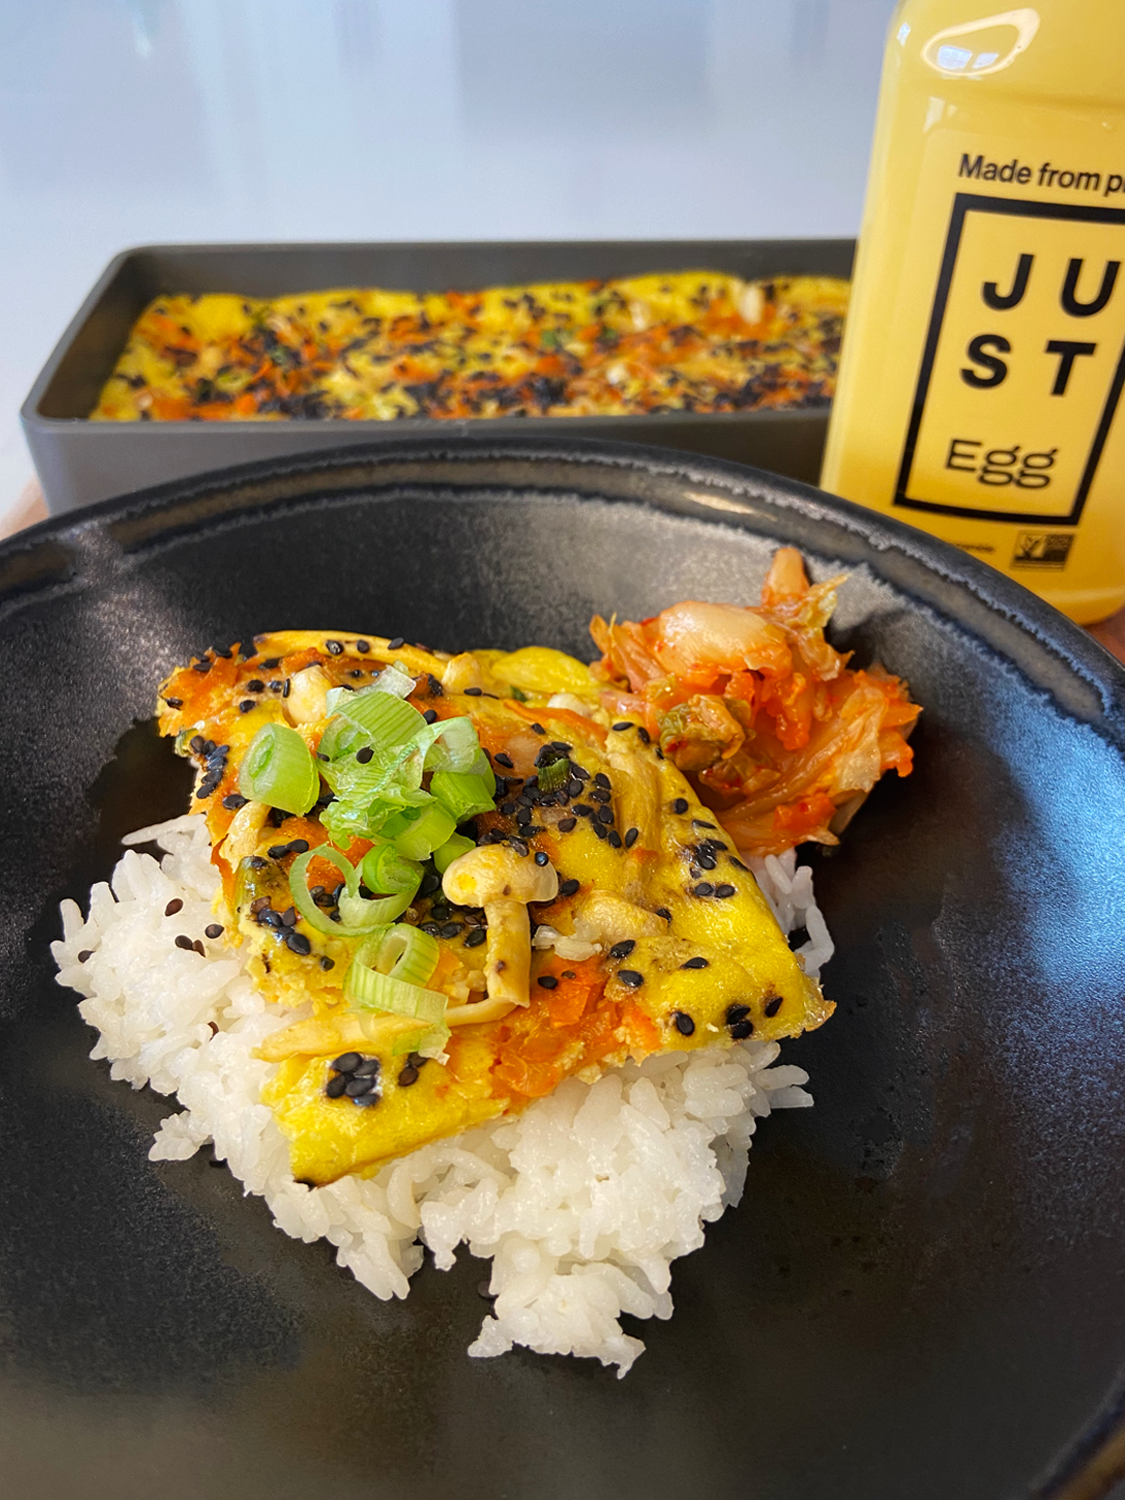
This Korean Baked Just Egg and Rice is a perfect protein rich breakfast for any day of the week, but I particularly love it for meal prep or a crowd. This recipe consists of vegan Just Egg, loaded with kimchi, seasoned carrots, scallions, sesame and beech mushrooms, baked to perfection and served over white rice.
This Korean Baked Just Egg and Rice recipe is LOADED with flavor and is a perfect protein packed breakfast that can be made with little effort. It’s incredibly satisfying, but light at the same time and will keep you full and fueled for hours.
Jump to Recipe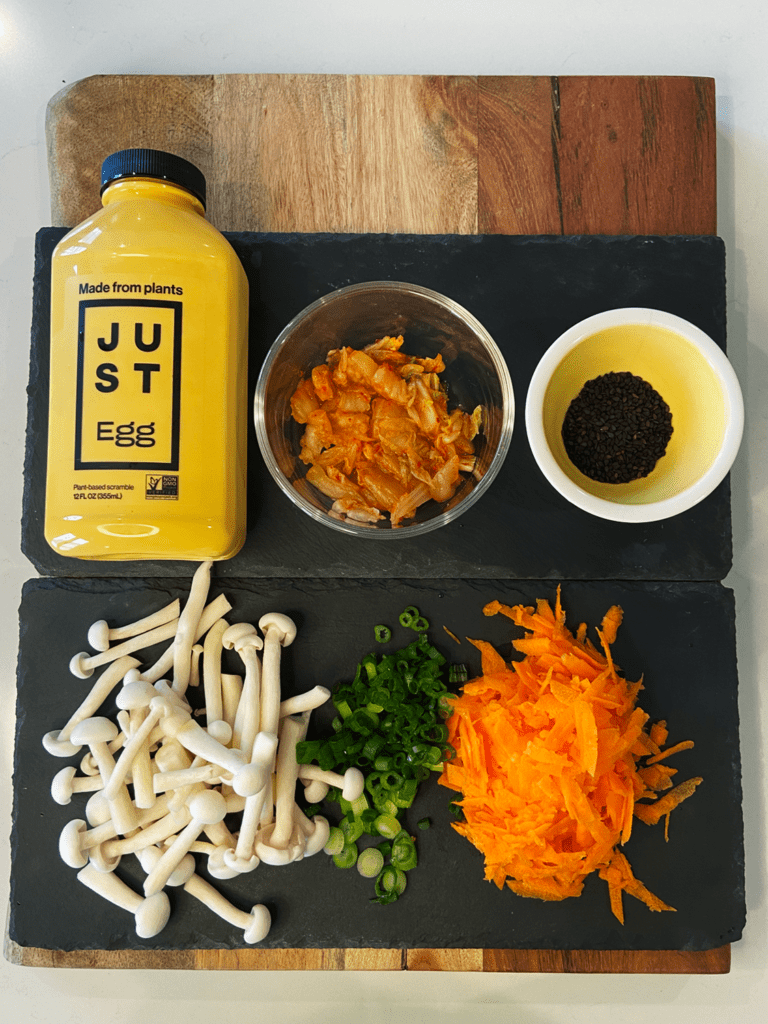
Vegan Just Egg
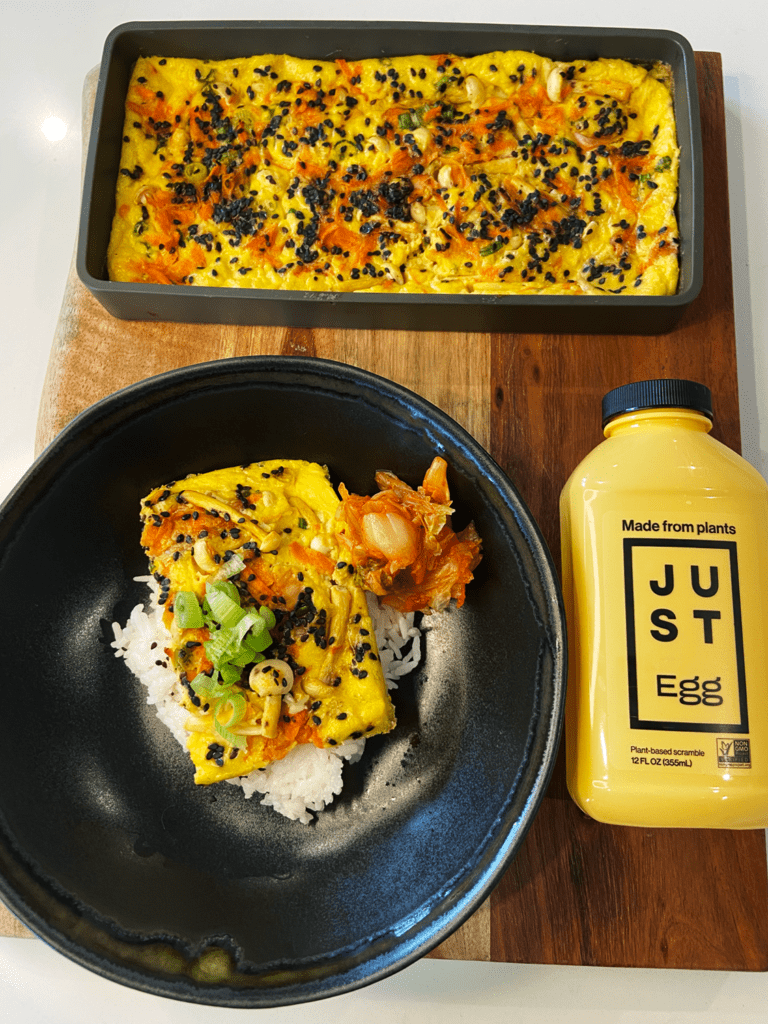
As mentioned above, I am super impressed with Just Egg. It is a fantastic plant-based egg alternative! Each bottle makes 8 vegan eggs. You can scramble Just Egg in a skillet, but my preferred method is to bake it.
Baking Just Egg is a no-fuss way to cook a flavorful, protein rich vegan breakfast in a flash! You simply pour, add seasoning and veggies of your choice, and bake! Keep on reading to find out how to make Korean Baked Just Egg.
Where to buy Just Egg
You can find Just Egg at most grocery stores in either the egg section or the vegan/health food section of the store. You can also find it at Whole Foods and many health food markets.

How to make Korean Baked Just Egg and Rice
Making Korean Baked Just Egg and Rice is incredibly simple and is a perfect recipe for beginners!
Make the rice
Begin by preparing your white rice. For this recipe I went with sushi rice, but you can use any rice of your choice. You can use a rice cooker or stove top method to cook your rice. For stove top method, begin by rinsing your rice thoroughly. You do this by placing your rice in a strainer and covering it with water. Rinse and repeat until water starts to become clear.
Next, place 1 cup of rinse, uncooked rice and 2 cups of water in a medium sauce pan. Bring to a boil and then lower to a simmer and cover. Cook for 20 minutes or until water is fully absorbed.
Remove from heat and fluff with a fork. Cover and allow rice to rest for a few minutes.
While rice is cooking, use your time wisely and move ahead to prepare your baked Just Egg.
How to make Korean Baked Just Egg
To prepare the Korean Baked Just Egg, start by preheating your oven to 350 degrees F.
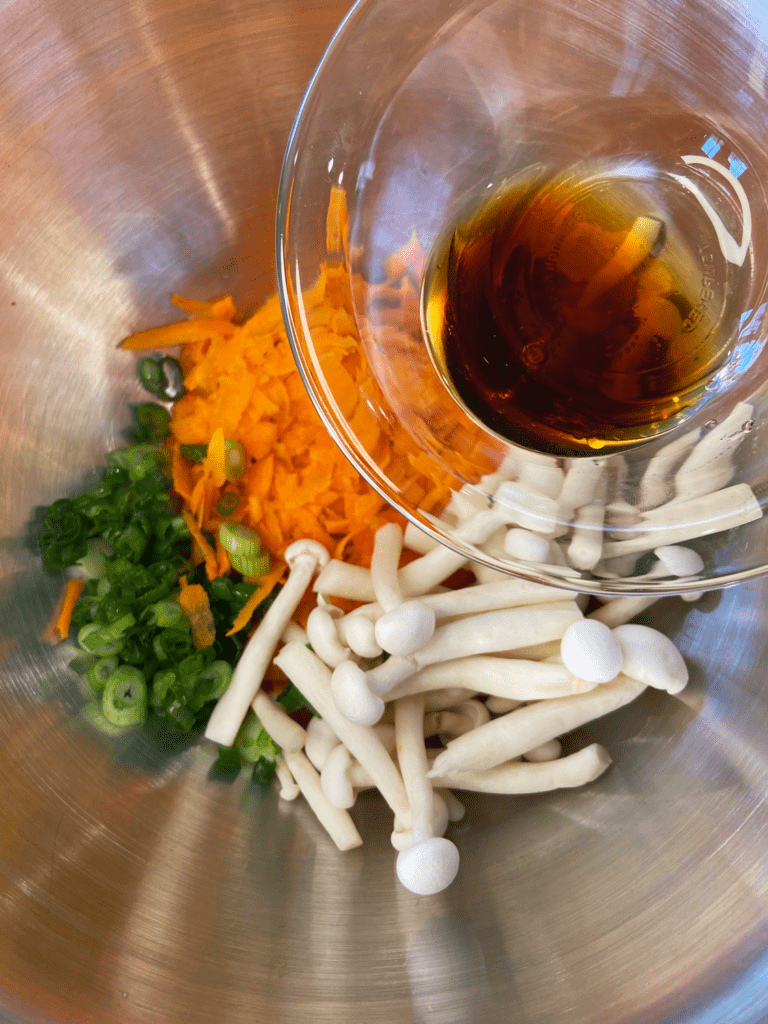
Next, prepare your veggies. First chop 1/4 cup of kimchi into smaller pieces and set aside. Next, shred one carrot and thinly slice 2 tbsp of scallions. Prepare 3 oz of white beech mushrooms by washing them thoroughly and cutting off the bottom inch or so (the dirty, harder part). Feel free to sub out any mushroom, but white beech mushrooms are super fun!
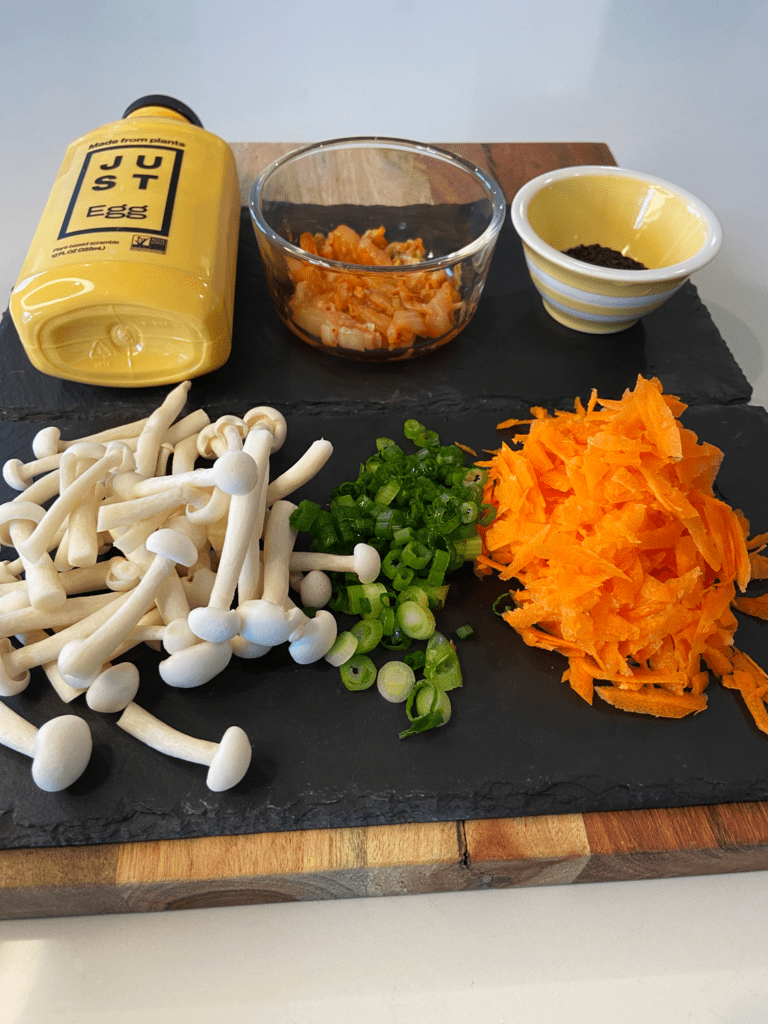
Now it’s time to season your veggies. Place prepared carrots, scallions, and mushrooms in a bowl and add 1/2 tsp rice vinegar, 1/2 tsp toasted sesame oil, 1/2 tsp agave, and 1 tsp of soy sauce. Mix until evenly combined and set aside.
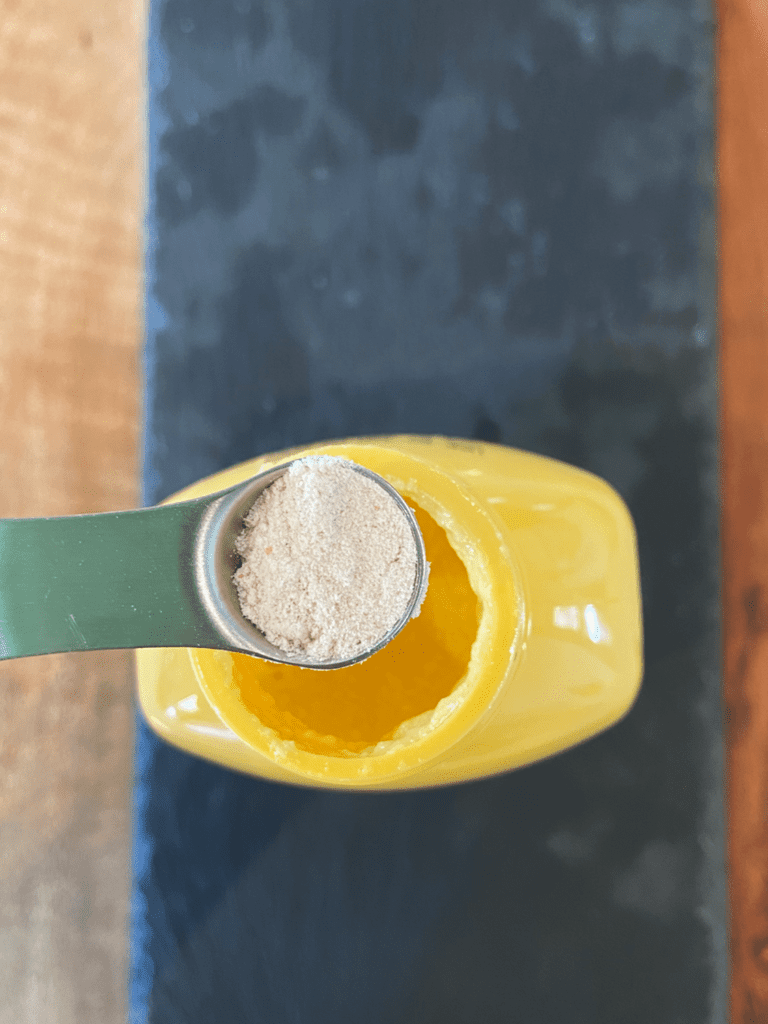
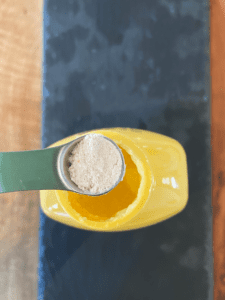
Next you will season the Just Egg with black salt. Just Egg already has a nice eggy flavor, so you can skip this step if desired. I personally like to season my Just Egg with a pinch of black salt because it makes it taste even more like real egg. Black salt is a salt used in Indian cuisine that has an egg-like flavor. To season your Just Egg with black salt simply add 1/4 tsp of black salt to the bottle Just Egg and shake vigorously for at least 15 seconds to ensure it is properly mixed.
Do not replace black salt with regular salt. The point of adding black salt it to make the flavor more egg-like, not to make the dish more salty. If you do not have black salt, but skip it.
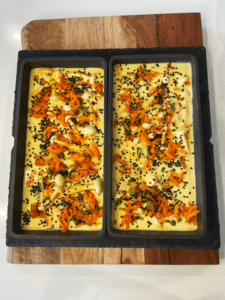
Now it’s time to put it all together! To bake your Just Egg you need a baking sheet. Go with a baking sheet that is around 8×8 inches (I went with 2 smaller ones). It is not a huge deal if you have a baking sheet that is smaller or larger. The baking time for the Just Egg will vary depending on thickness or the poured Just Egg, so adjust if needed.
I personally love to use a silicone baking tray. Spray your silicone baking tray with a non-stick oil or line with parchment paper. DO NOT SKIP THIS STEP! If you do, your baked Just Egg will stick to the pan and ruin your day.
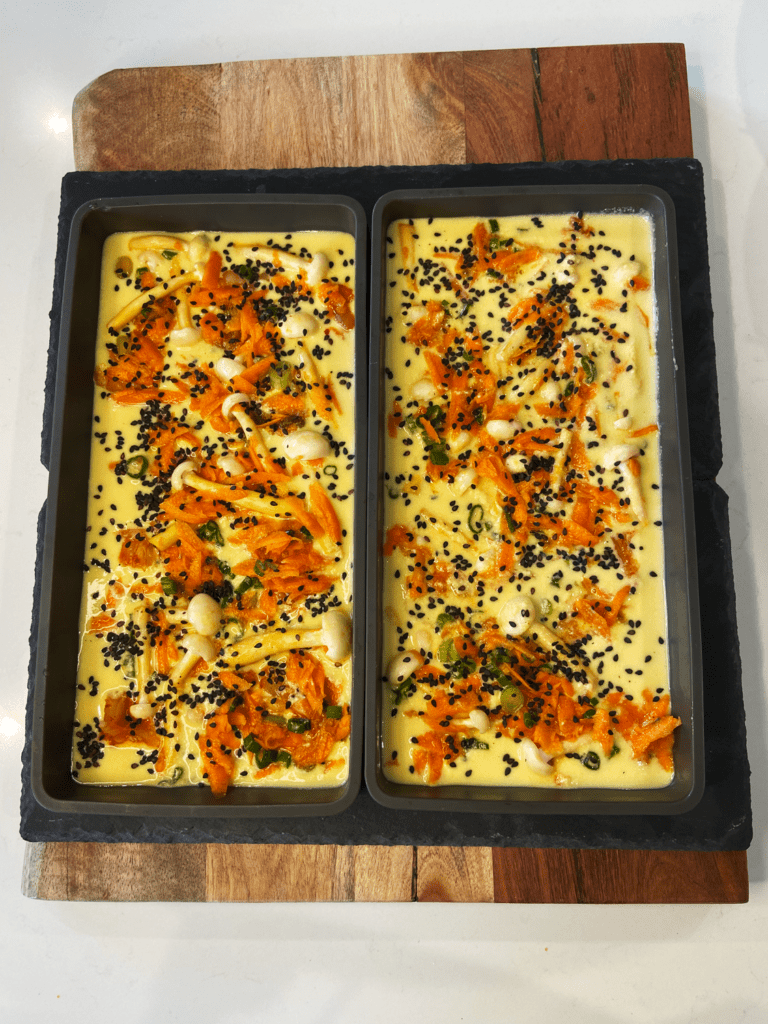
Once you have sprayed your baking sheet with a non-stick oil or lined it with parchment paper, fill your baking tray with the liquid Just Egg.

Next, evenly distribute the kimchi, veggies, and sesame seeds on top of the Just Egg.
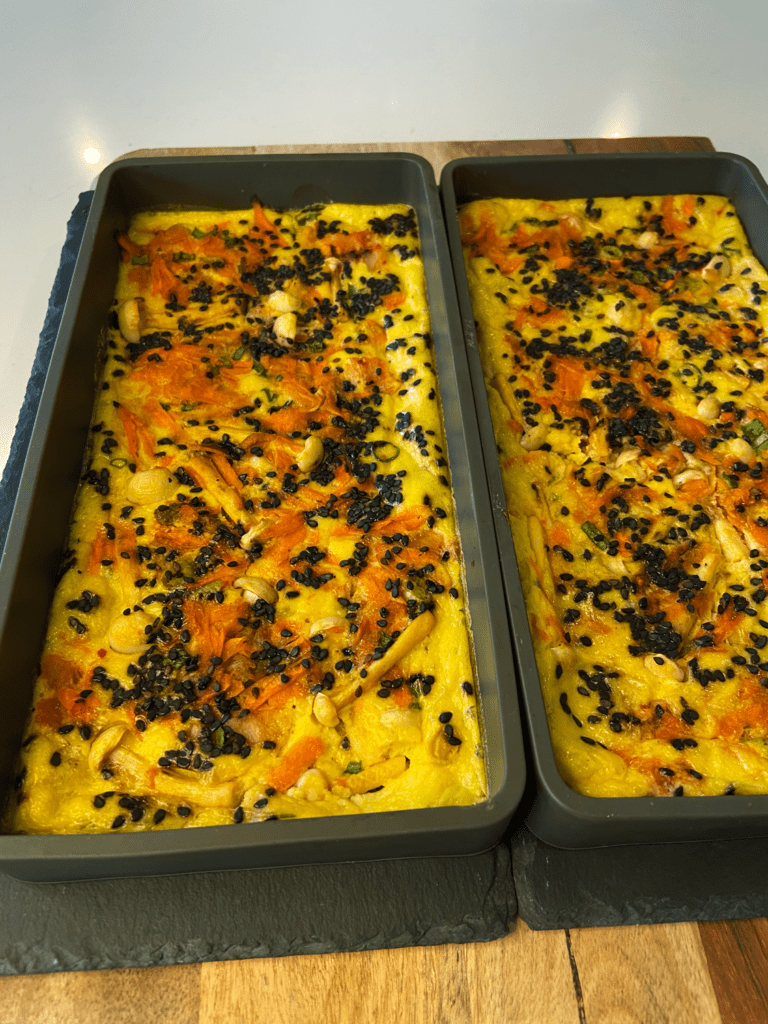
Place in the oven and bake for 20 minutes, or until the Just Egg is cooked completely through. You can check to make sure it is cooked by using a fork and checking the center for any uncooked liquid. Once the Just Egg is baked all the way through, remove it from the oven.
Now it’s time to put it all together!
Distribute cooked white rice into four bowls (recipe serves four). Cut the Korean Baked Just Egg into four pieces and place over the rice. Serve with kimchi and scallions if desired. Enjoy!
Korean Baked Just Egg and Rice is the Perfect protein rich meal prep breakfast recipe
You will love this recipe because it is delicious and healthy…but you will also love this recipe because it can be prepped ahead of time, making your breakfast routine a breeze all week long!
To meal prep this recipe, simply prepare this recipe fully. Store the cooked rice separately in an air tight container in the fridge. Store the Korean baked Just Egg in an air tight container in the fridge. When you are ready to eat, simply reheat each element, combine and enjoy!
Korean Baked Just Egg and Rice – vegan breakfast
Ingredients
Equipment
Method
- **Feel free to use a rice cooker instead!
- Place one cup of rice in a strainer, cover with water, drain, and repeat until water is clear
- Add rice and water to a medium sauce pan. Bring to a boil. Once boiling, lower the heat to a simmer. Cover pan with a lid.
- Simmer until water is completely absorbed. This will take about 15-20 minutes.
- When water has completely absorbed, remove from heat. Fluff rice with a fork and allow rice to rest with the lid on.
- **While rice is cooking, move ahead and prepare Korean Baked Just Egg
- Preheat oven to 350 degrees F
- Prepare your veggies. Shred the carrot and slice the scallion into thin slices. Prepare your mushrooms by thoroughly washing them and removing the bottom of the stems (the hard, dirty part of the stem). Cut 1/4 cup of kimchi into smaller pieces and set aside.

- Place the shredded carrots, sliced scallions, and mushrooms into a bowl. Add 1/2 tsp rice vinegar, 1/2 tsp sesame oil, 1/2 tsp agave, and 1 tsp soy sauce. Mix until evenly covered. Set aside.
- Now it's time to season your just egg. Add 1/4 tsp of black salt to the bottle of Just Egg. Tightly seal the lid and shake vigorously for at least 15 seconds or until evenly combined.
- Spray your baking tray with non-stick spray or line it with parchment paper. Don't skip this step! Use an 8×8 baking tray if possible.**I prefer to use silicon baking tray AND spray them with a non-stick oil spray
- Pour the seasoned Just Egg evenly into the baking tray
- Evenly top with seasoned veggies, sliced kimchi, and sesame seeds
- Place in preheated oven and bake for 20 minutes or until Just Egg is completely cooked. Use a fork to check the center to make sure the Just Egg is no longer liquidy.
- When cooked through, remove Korean Just Egg from the oven and slice into 4 portions.


- Plate your rice (recipe makes four portions). Top each plate rice with 1/4 of the Korean baked Just Egg. Serve with extra kimchi and scallions. Enjoy!

More Easy vegan Recipes Using Just Egg

More High Protein Vegan breakfast recipes